Creating Subjects
The subject is the patient whose material is being tested. A subject carries demographics and identifiers and links to one or more samples.
Creating a subject
- Open Subjects from the left nav and click New Subject.
- Enter a Subject ID — a human-readable identifier, unique within the project (e.g.
NA12878-DX). - Optionally add demographic and clinical details: name, biological sex, date of birth, and free-text clinical notes.
- Click Create Subject.
Creating a subject requires a project Contributor or Admin role.
A subject is created, can be linked to samples, and updated at any time. There is no closed or archived state.
Files
Subject-scoped uploads (consent forms, clinical documents) live under subjects/{slug}/uploads/ in the project bucket, where {slug} is derived from the Subject ID — see File Paths.
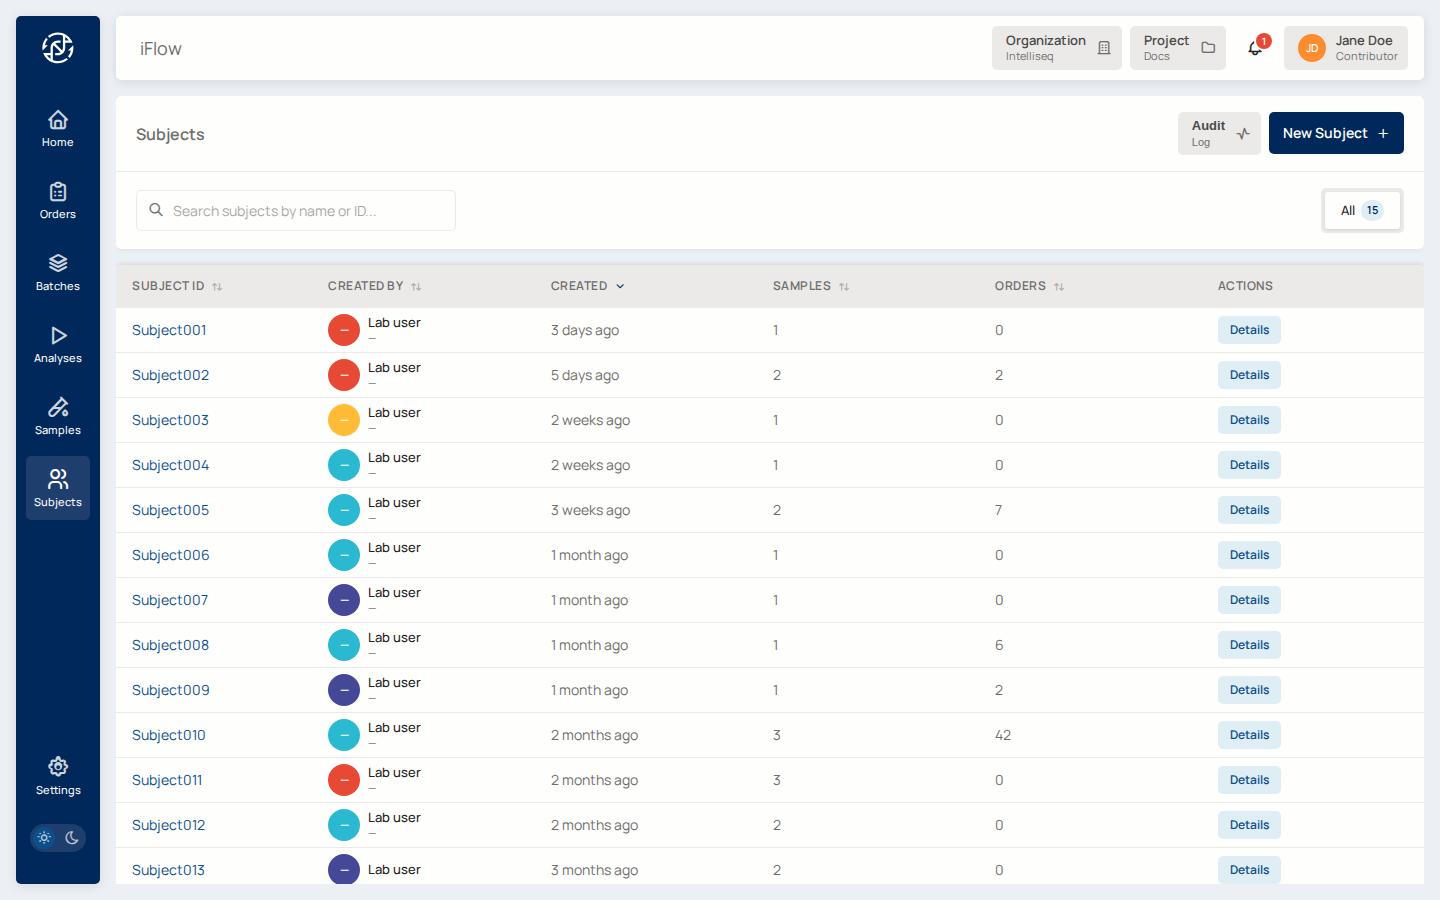
Where things live in the UI
- Subjects list —
/subjects. Browse and search the project's subjects. - Subject detail —
/subjects/{subject_id}. View a subject's demographics, its linked samples, and any files uploaded at the subject level. - New subject —
/subjects/new. Create a subject by entering a Subject ID and optional demographic details such as date of birth or biological sex.
Related reading
- Samples — the specimens drawn from subjects.
- Intake workflow.
- For scripted or automated subject management, see CLI → Managing Subjects and the API reference.