Creating Samples
The sample is the physical specimen taken from a subject. A sample owns the sequencing files (VCF, BAM, FASTQ) and the metadata describing how the specimen was collected and processed.
Creating a sample
- Open Samples from the left nav and click New Sample.
- Choose the Subject this sample was taken from.
- Enter a Sample ID — a human-readable identifier, unique within the project (e.g.
NA12878-DX-01). - Optionally add specimen metadata: specimen type, collection date, sequencing type, and any other identifiers your workflow needs.
- Click Create Sample.
Creating a sample requires a project Contributor or Admin role.
Files
Sample files live under samples/{slug}/uploads/, where {slug} is derived from the Sample ID — see File Paths:
| File | Purpose |
|---|---|
*.vcf.gz |
Variant calls — the input for tertiary reporters and the variant browser. |
*.bam (+ .bai) |
Aligned reads, useful for IGV inspection. |
*.fastq.gz |
Raw reads, when the pipeline does alignment. |
Tabix index (.tbi) is only needed for order VCFs
A VCF that goes into an order (for example, after a completed analysis) must be bgzipped and tabix-indexed (.vcf.gz + .tbi) so the variant browser can build its cache. A VCF you upload as the starting input to a workflow does not need a .tbi index.
Where things live in the UI
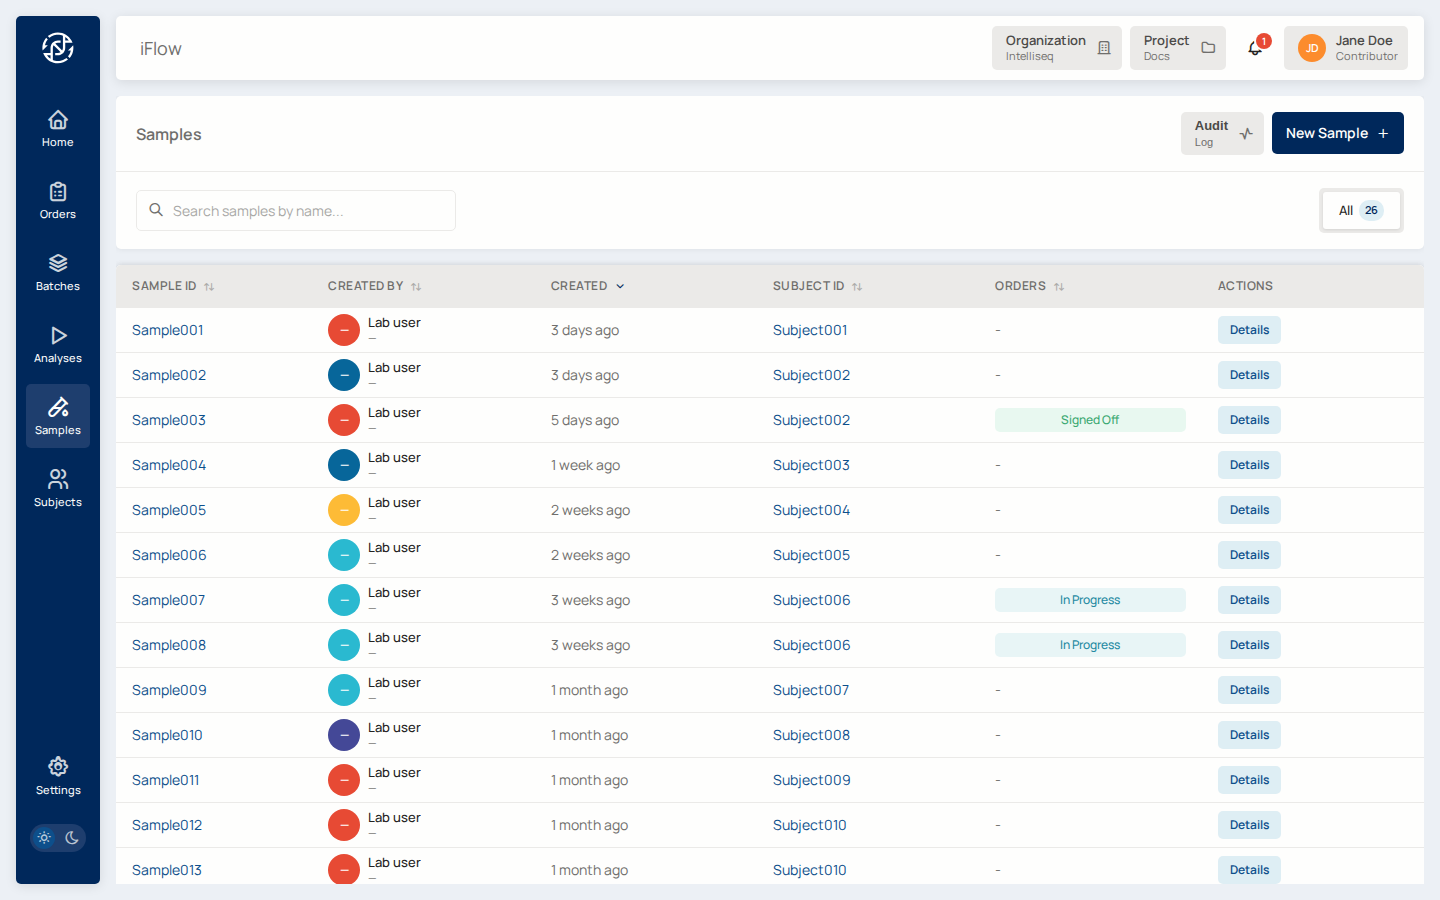
- Samples list —
/samples. Browse and search the project's samples. - Sample detail —
/samples/{sample_id}. View the sample's metadata, its subject, the orders it participates in, and its uploaded files. - New sample —
/samples/new. Create a sample by choosing a subject, entering a Sample ID, and adding optional specimen metadata.
Related reading
- Subjects — where samples come from.
- Orders — how samples participate in a case.
- For scripted creation, manifest upload, and samplesheet generation, see CLI → Managing Samples.
- Analyses — how a sample's files feed a pipeline.