Running an Analysis
An analysis runs a pipeline against a sample's data and produces results — variants, reports, QC. You launch one from the Analyses page.
Before you start
- You're in the right organization and project (topbar pickers).
- The sample you want to analyse exists and has its data file uploaded — see Creating samples and Uploading data files.
- You have a project Contributor or Admin role (Viewers can't launch analyses).
Launch a workflow
- Open Analyses from the left nav.
- Click Run Workflow in the top right.
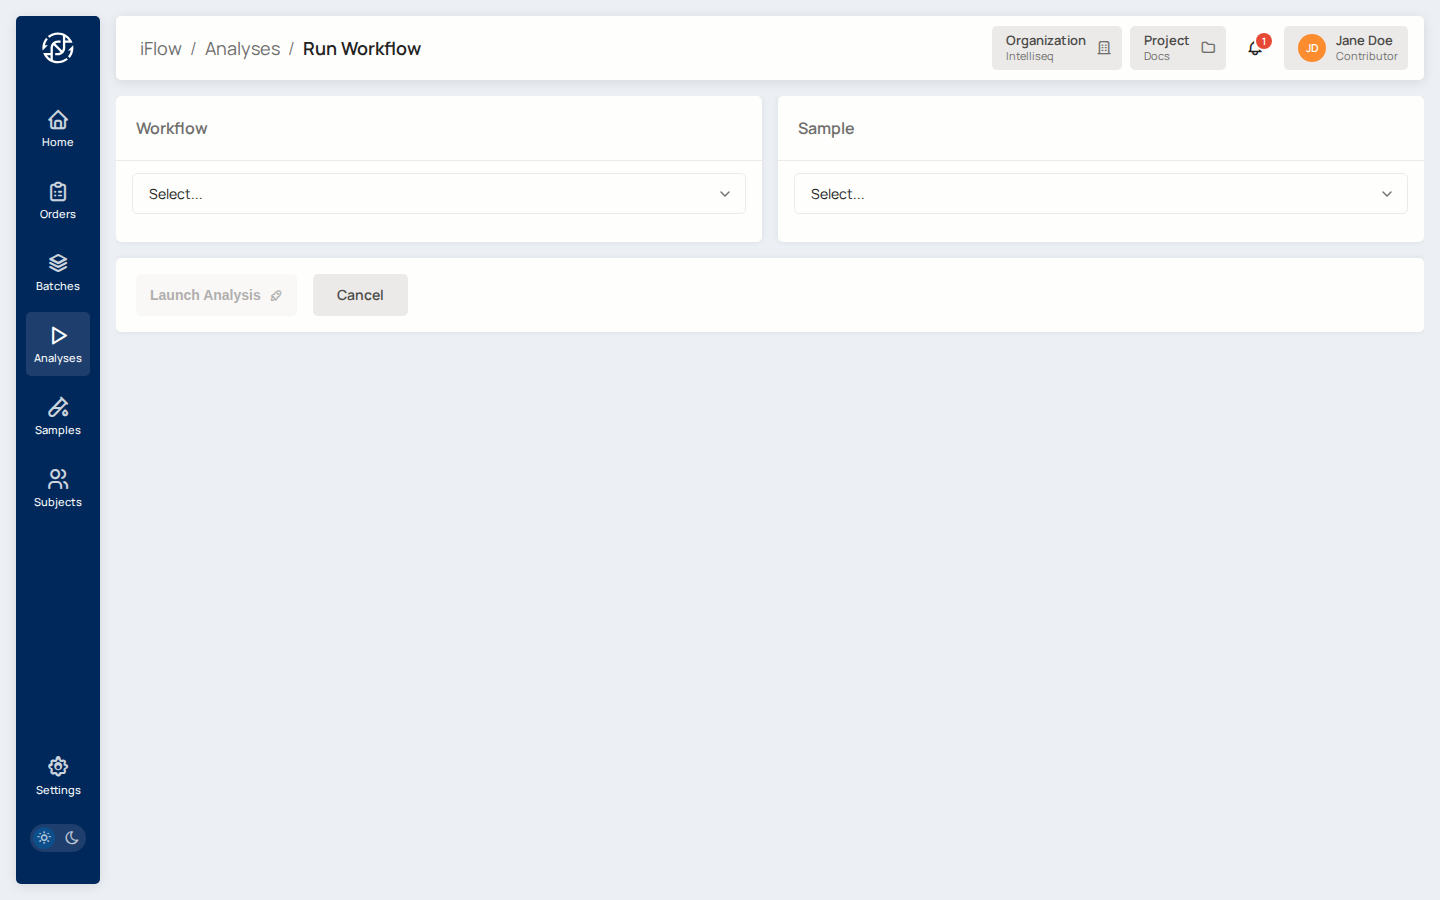
- Pick a Workflow — the dropdown lists every pipeline available in your project (secondary callers and tertiary reporters).
- Pick the Sample to run it against. Some workflows surface additional parameters once a workflow and sample are selected — fill those in.
- Click Launch Analysis.
You land on the new analysis's detail page in queued state.
While it runs
The analysis moves through queued → running → completed (or failed). Watch it from the Analyses list — use the In Progress, Completed, and Failed tabs to filter. Runs take anywhere from minutes to a few hours depending on the pipeline and input size.
Outputs are written to the project's storage bucket automatically; you never specify a bucket path yourself. See Project Storage & File Paths for where results land.
Next steps
- Results — view, download, and sign off on a completed analysis.
- Troubleshooting — what to do when an analysis fails.
- Pipelines — what the secondary and tertiary workflows do.