Default scenario: from sample to signed report
This walkthrough takes one clinical case from intake through sign-off in a single continuous narrative. It is the default iFlow scenario — the path every other workflow page refers back to. If you have read the Intended Use page you know the scope; this page shows what each stage looks like in the product.
Each step has a screenshot of what you should see, followed by a one-line note about why that step matters. Deep-dive links at the end of each step lead to the relevant service documentation.

The whole journey, shown above. Step-by-step walkthrough below.
Roles used in this walkthrough
- Lab technician performs intake and launches the pipeline.
- Clinical reviewer curates variants and drafts the report.
- Signing physician approves and signs.
Your deployment may collapse these into fewer people. The RBAC Matrix shows the minimum roles required for each action.
Prerequisite order — analysis before order
In iFlow, the bioinformatic pipeline analysis runs before the clinical order is created. The analysis produces the VCF and the annotations that will be curated; only once an analysis has completed successfully does the order exist as a case record to be tracked through the labflow.
The walkthrough below reflects that order: intake → analysis → create order → clinical review → sign-off.
1. Log in
After authenticating, land on your organization home page and switch to the project you will be working in.
Why it matters: everything you do in iFlow is scoped to a project. Files, orders, labflows, and reports are all stored against the current project's bucket.
→ See Admin Console for project setup.
2. Register the subject
Open Subjects from the Miner sidebar and click New subject. Fill in
the subject's display_id, demographics, and any clinical notes.
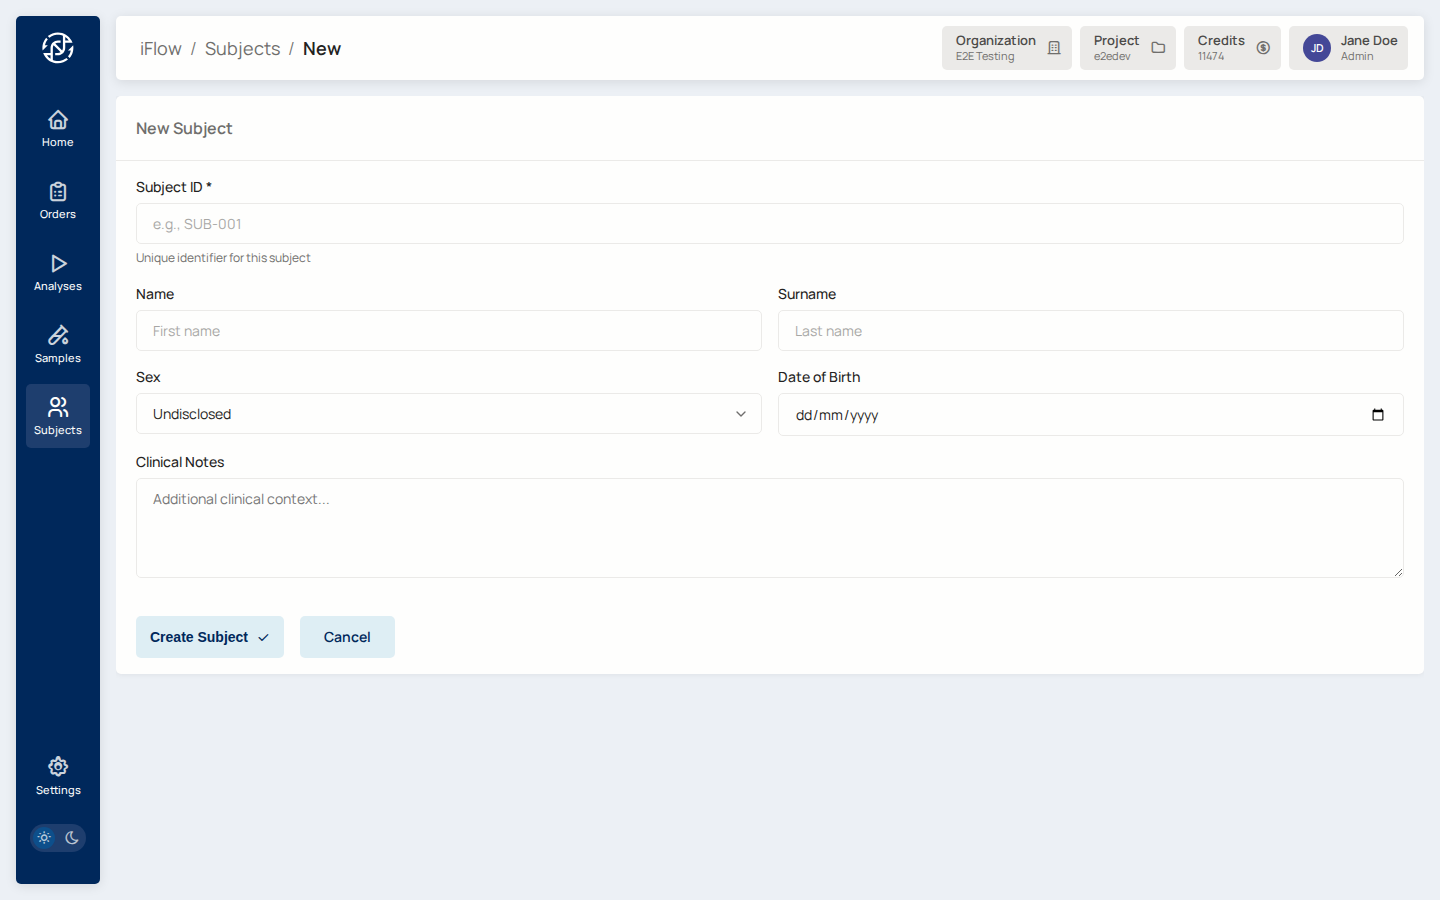
Why it matters: the subject is the individual being tested. A subject can carry multiple samples (for example a tumour / normal pair in somatic cases, or a family trio in hereditary cases).
→ See Subjects.
3. Register the sample
From Samples, click New sample, link it to the subject, and record the specimen type. Upload the VCF (bgzipped), BAM, or FASTQ depending on what your pipeline consumes.
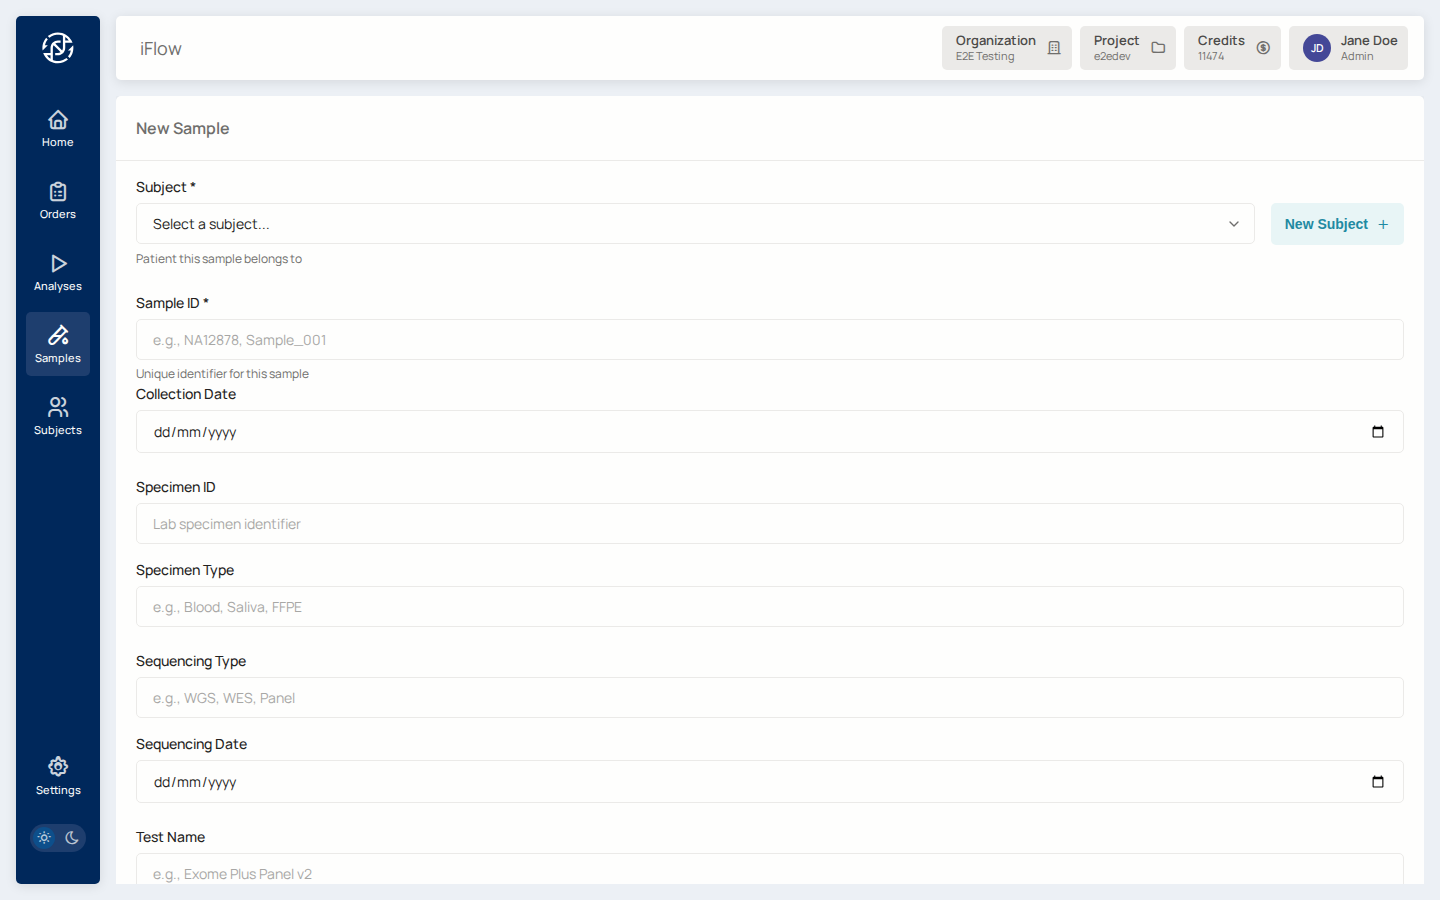
Why it matters: the sample is the physical specimen. Its files live under
samples/{slug}/uploads/ inside the project bucket — see
File Paths.
→ See Samples.
4. Upload sample data (FASTQ or VCF)
With the sample registered, upload the sequencing data. FASTQ (raw reads)
feeds pipelines that will align and call; VCF (already-called variants)
feeds the variant browser directly. Files land under
samples/{slug}/uploads/ inside the project bucket.
Why it matters: without uploaded data the pipeline has nothing to run against. FASTQ is needed for end-to-end analysis; VCF is needed when the pipeline consumes an already-annotated call set.
VCF must be bgzipped
The VCF browser requires .vcf.gz. Plain .vcf will be accepted
into the bucket but the variant browser cache build will skip it.
→ See File Browser and File Paths.
5. Bioinformatic pipeline analysis
With data uploaded, you need a completed pipeline analysis for the sample. The Analyses page lists every pipeline run in the project. Launch a new one from the sample detail page, or run one through the Compute service directly.
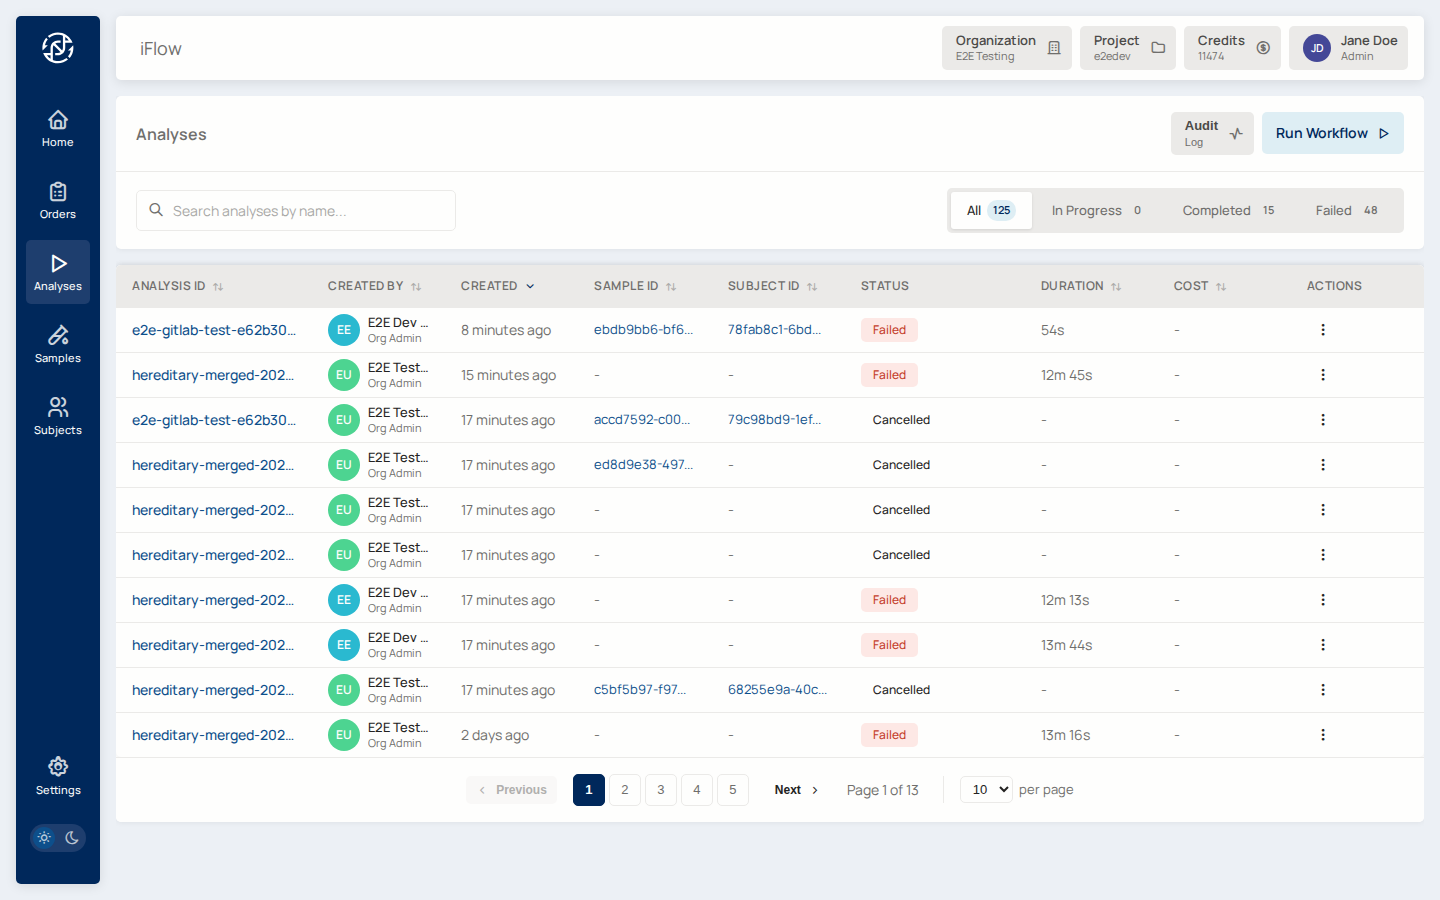
Why it matters: the pipeline produces the final VCF and annotations. Until it has succeeded, clinical order creation cannot begin — the order depends on the analysis output.
→ See Analyses and Analysis workflow.
6. Open a completed analysis
Click a succeeded run to open its detail page. You see inputs, outputs, metrics, and a Create Order action.
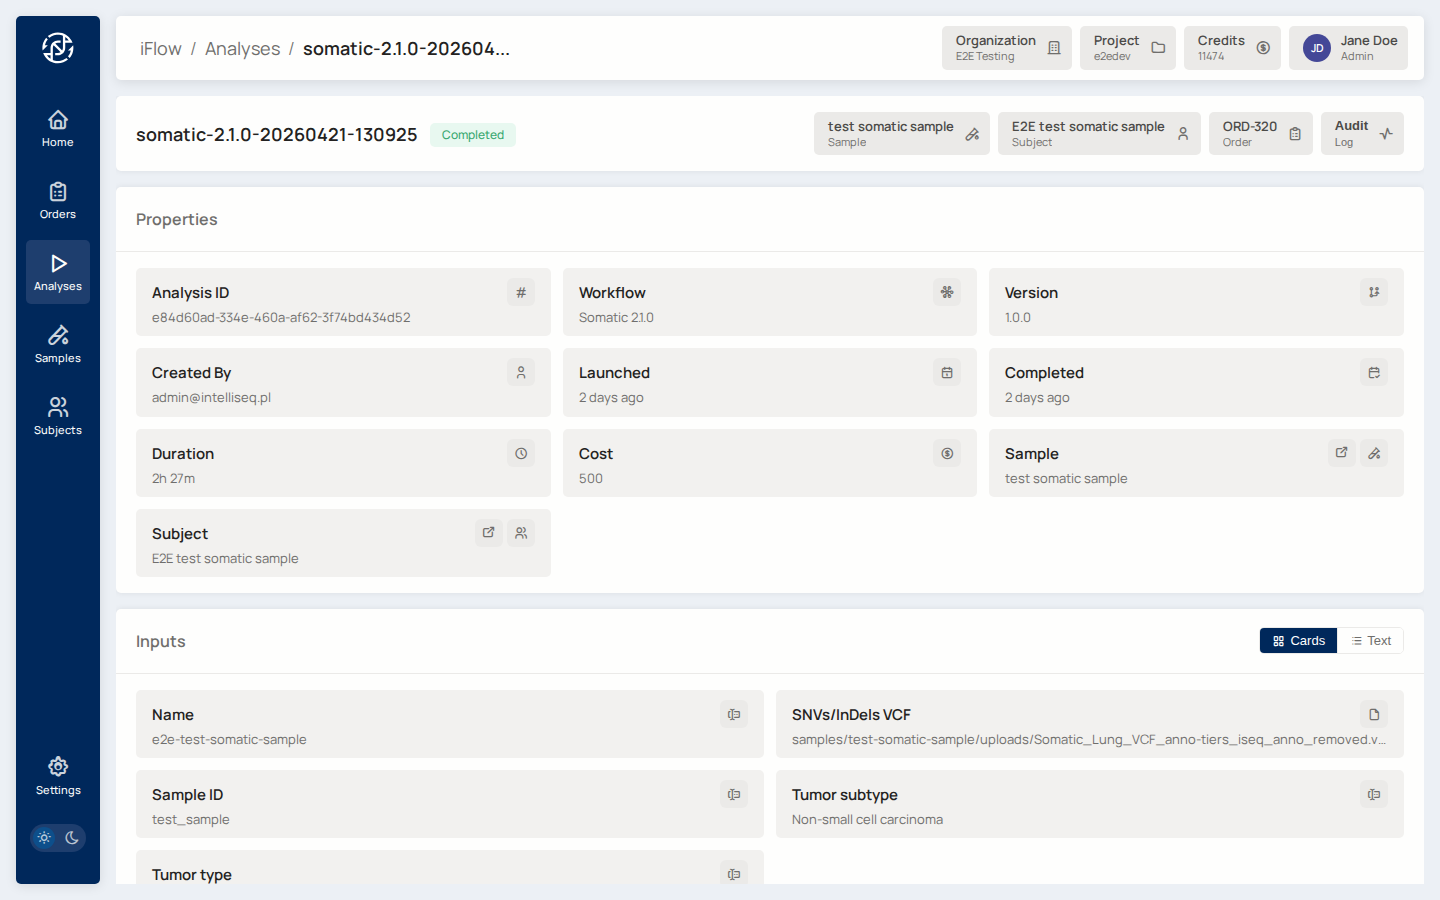
Why it matters: this is where intake and analysis meet clinical workflow. The analysis detail page is the launching point for the order that the report will ultimately be built on.
7. Create the order
From the analysis detail page (or Orders → New order), fill in:
display_idfor the case (for exampleORD-2026-0042)- Analysis mode:
hereditaryorsomatic - Priority:
low,medium, orhigh - The sample(s) that belong to this case, with each sample's role (proband, mother, father, tumour, normal, etc.)
Creating from an analysis pre-fills the sample / VCF fields.
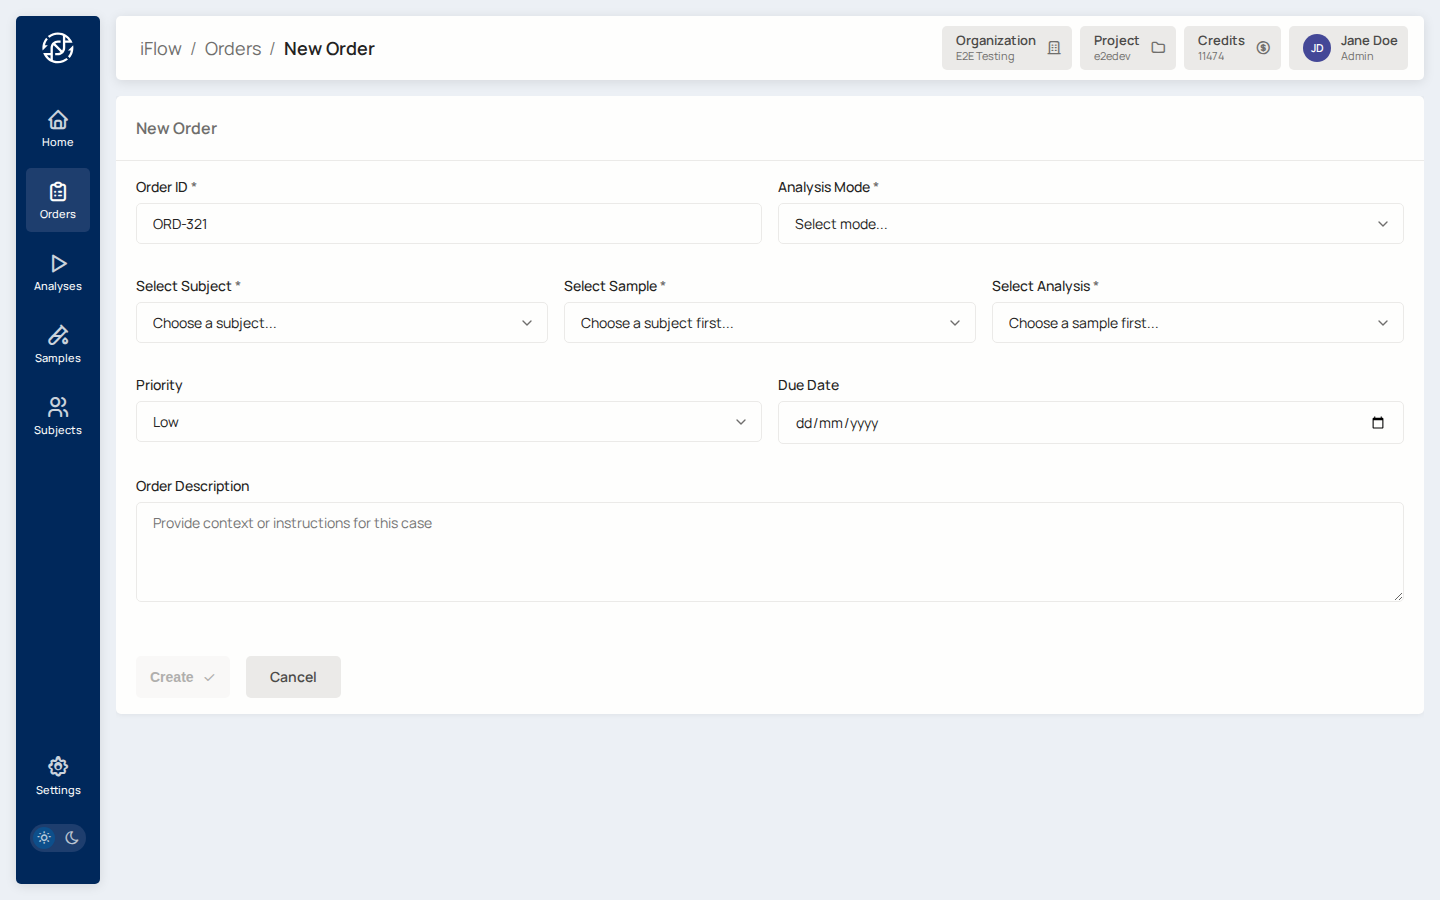
Why it matters: the order is the case-level record that the rest of the workflow hangs off. It is what gets signed at the end.
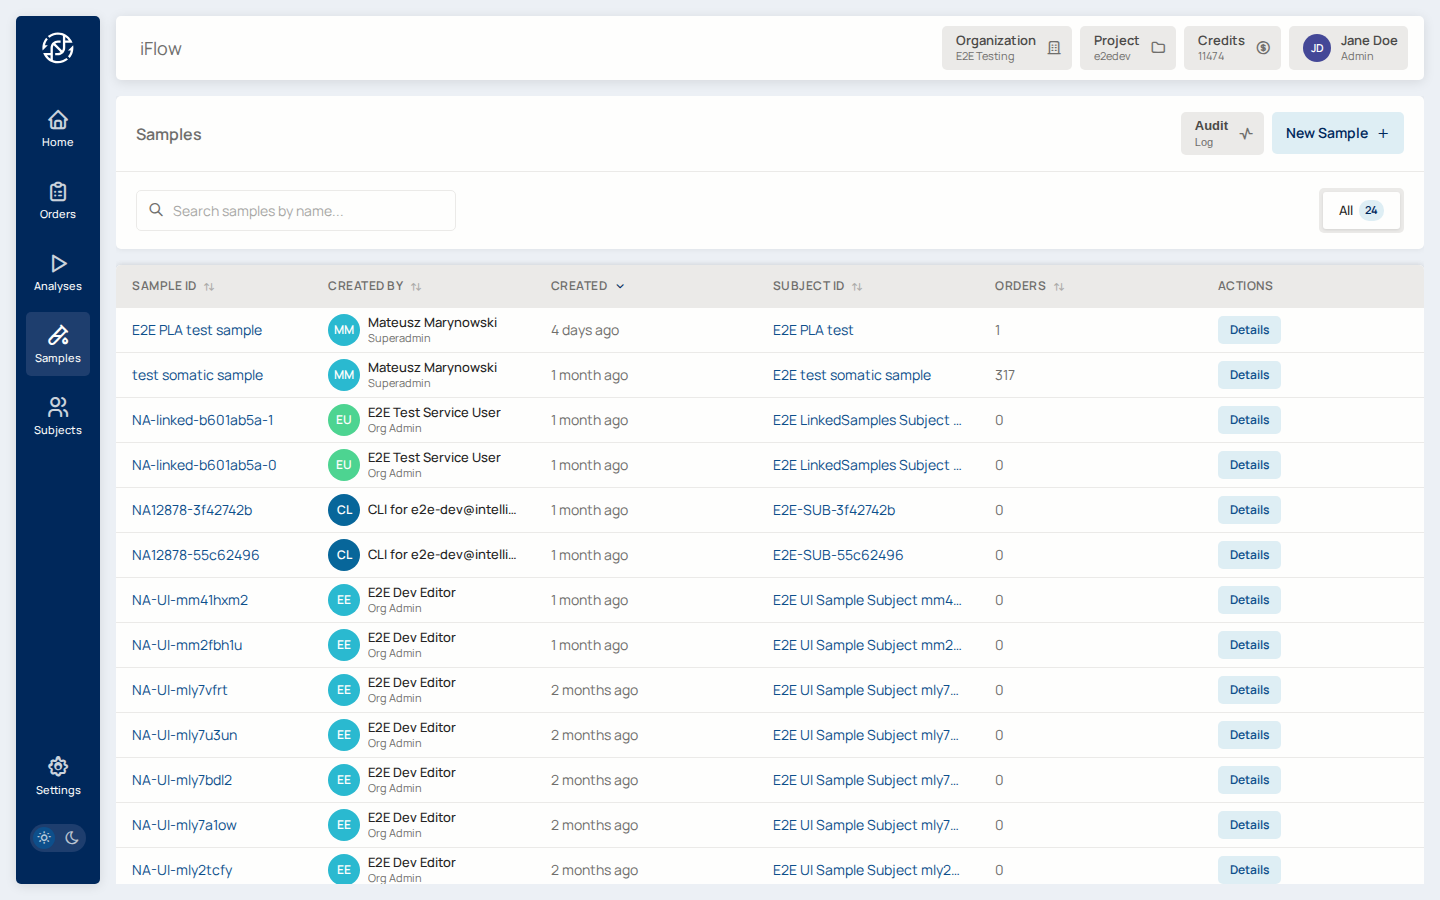
8. Orders list
Once created, the order shows up in the Orders list alongside any other cases in the project — filterable by status, priority, and assignee.

Why it matters: the orders list is the laboratory's case queue. Triage at a glance; jump in where needed.
→ See Orders.
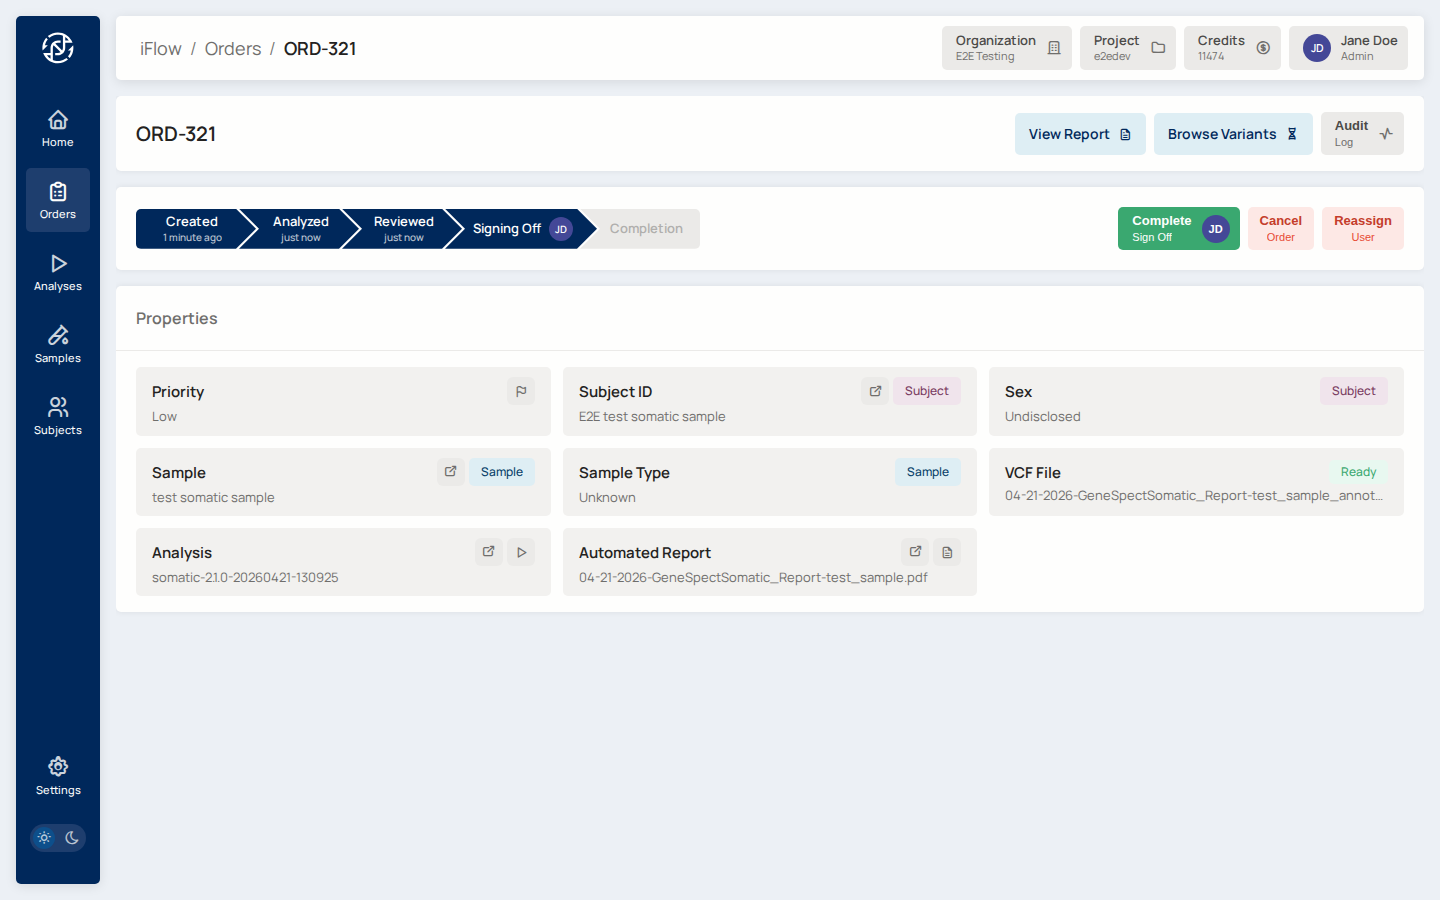
9. Order detail
Open the order you just created. The detail page shows the sample, the labflow stage panel, the Report tab, and the audit trail.

Why it matters: the order detail is the working dashboard for a case — it is where stage assignment, transitions, and the report tab live.
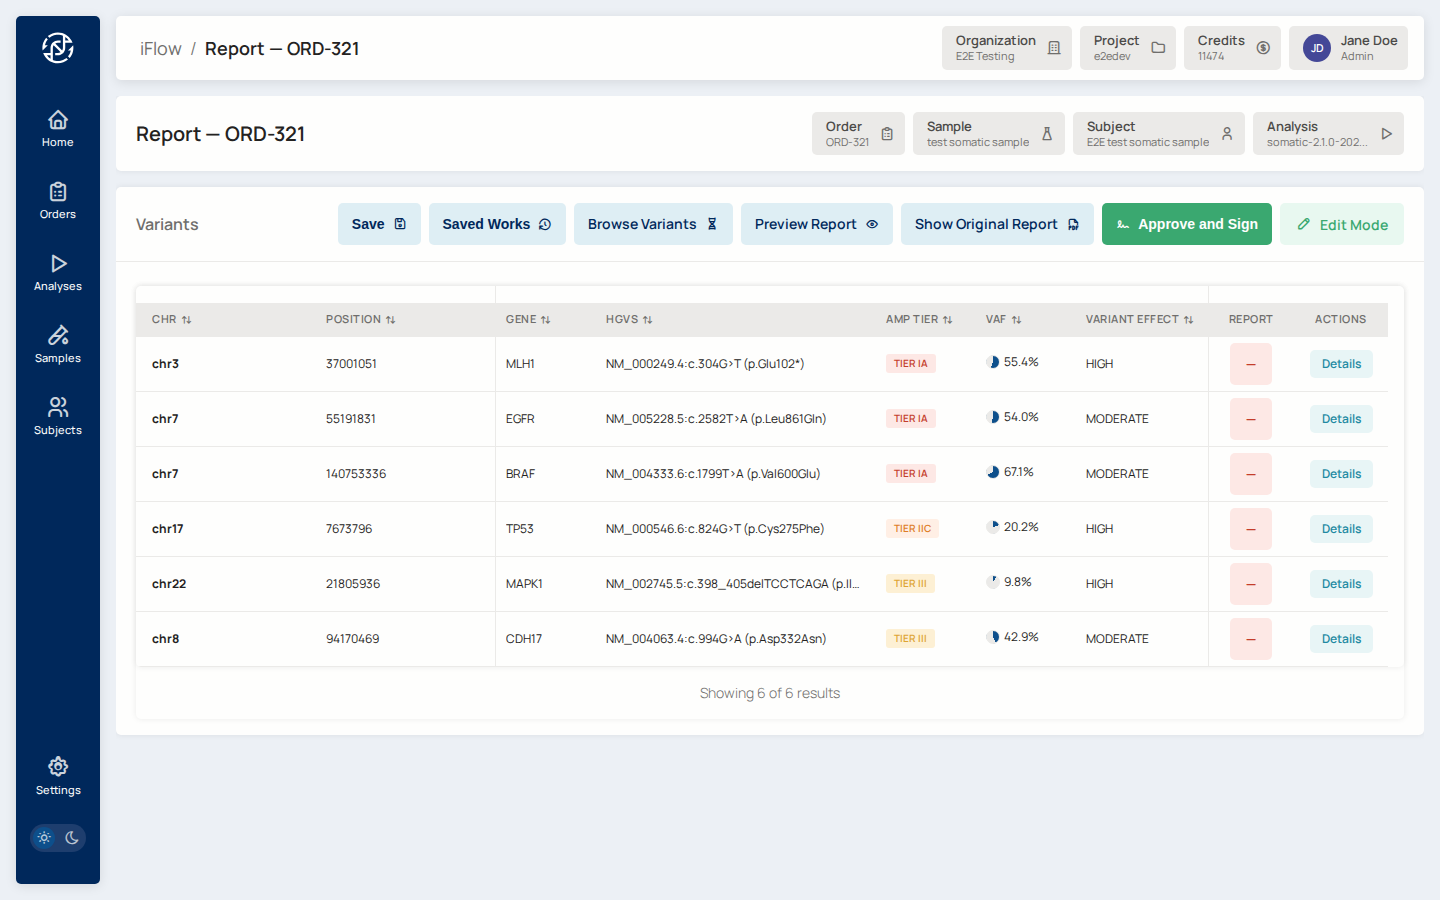
10. Browse variants
Advance the order into the Review stage. Open the VCF browser for the
order. Filter to AMP tiers IA and IB, and set a VAF threshold
(for example VAF ≥ 0.05). The table updates as you change filters.
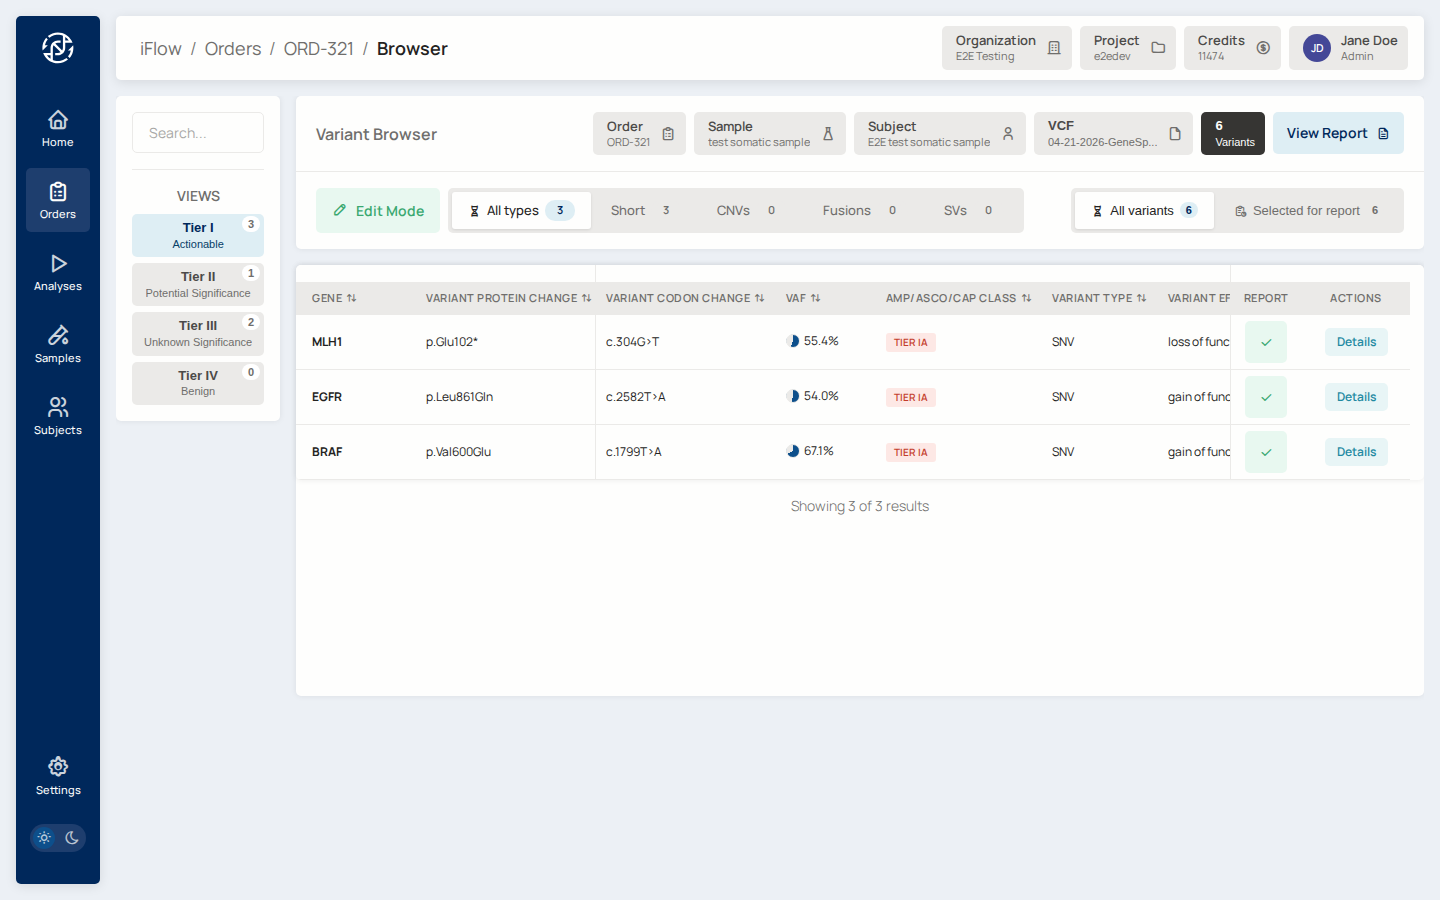
Why it matters: most somatic reports focus on Tier I variants. The browser lets you narrow down from hundreds of variants to the ones that will actually be reported.
→ See VCF Browser.
11. Inspect a variant
Click a variant to open its detail page. The page shows ACMG criteria, AMP / ASCO / CAP tier, HGVS names, population frequencies, and evidence references (NCCN, CKB, CIViC, FDA).
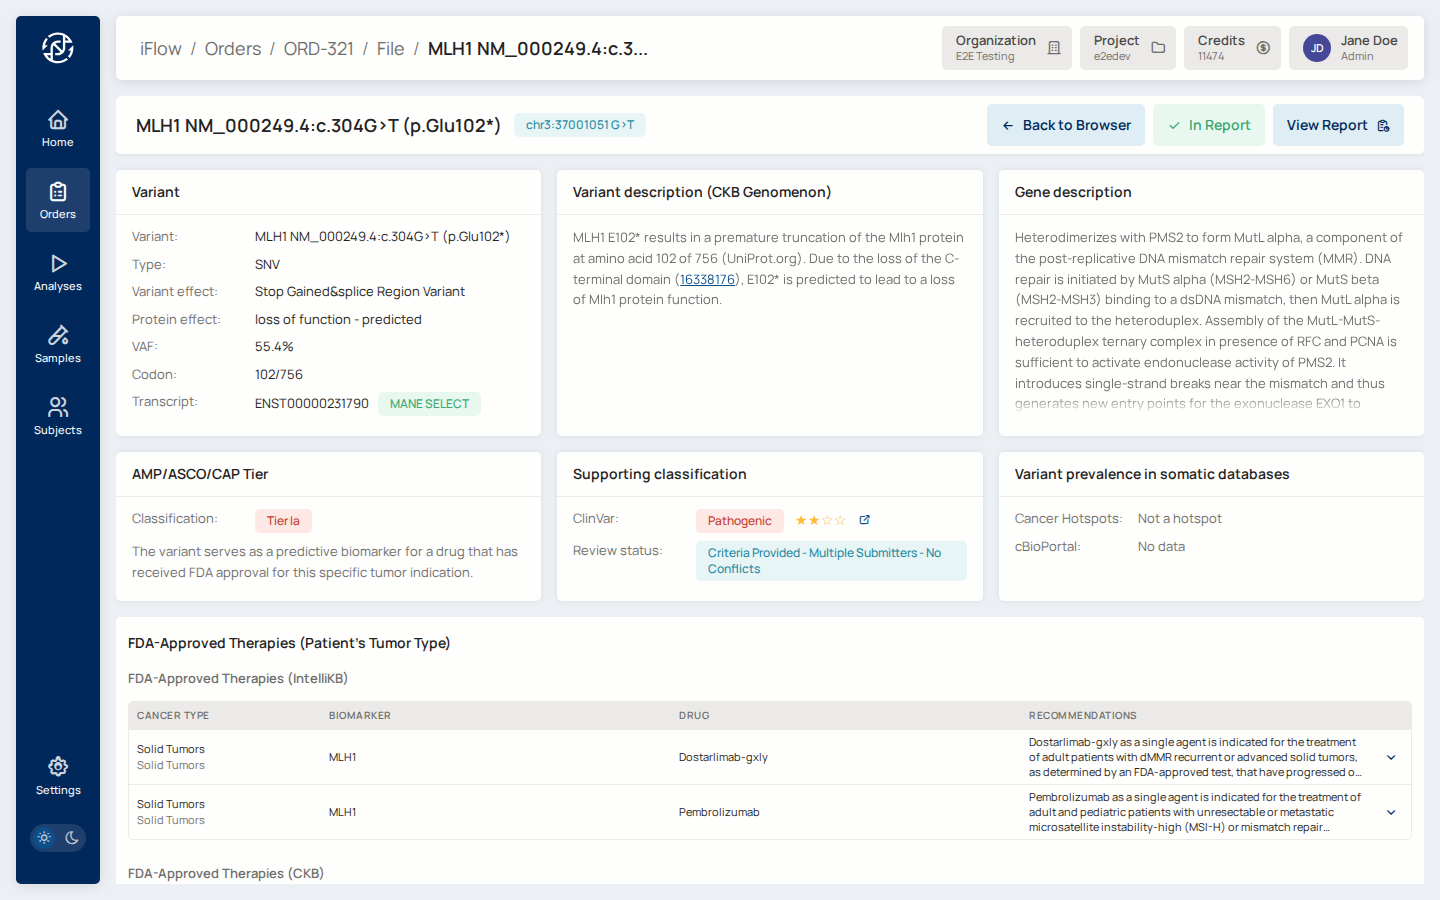
Why it matters: this is where curators capture the clinical meaning of each variant. The resulting classification flows into the report.
→ See Variant Detail.
12. Review assignment
From the order's labflow panel, confirm the current assignee and record any notes about the review round.
Why it matters: until a user is assigned, the review stage is gated — nobody can edit variants or the report. See the RBAC Matrix for the exact rules.
→ See Review workflow.
13. Preview the report
Open the report tab. iFlow auto-populates Tier I–III variants on first load; Tier IV is excluded by default and may be added manually. Write the clinical summary and any case-level notes.
Click Preview Report to render the report exactly as it will appear in the signed PDF — same variant table, same narrative, same layout.
Why it matters: the preview is exactly what the signed PDF will contain. Catch wording, layout, and variant selection issues before sign-off.
→ See Report service.
14. Approve and Sign
Transition the order to sign_off, open the report, and click Approve
and Sign. A confirmation modal shows the final case details.
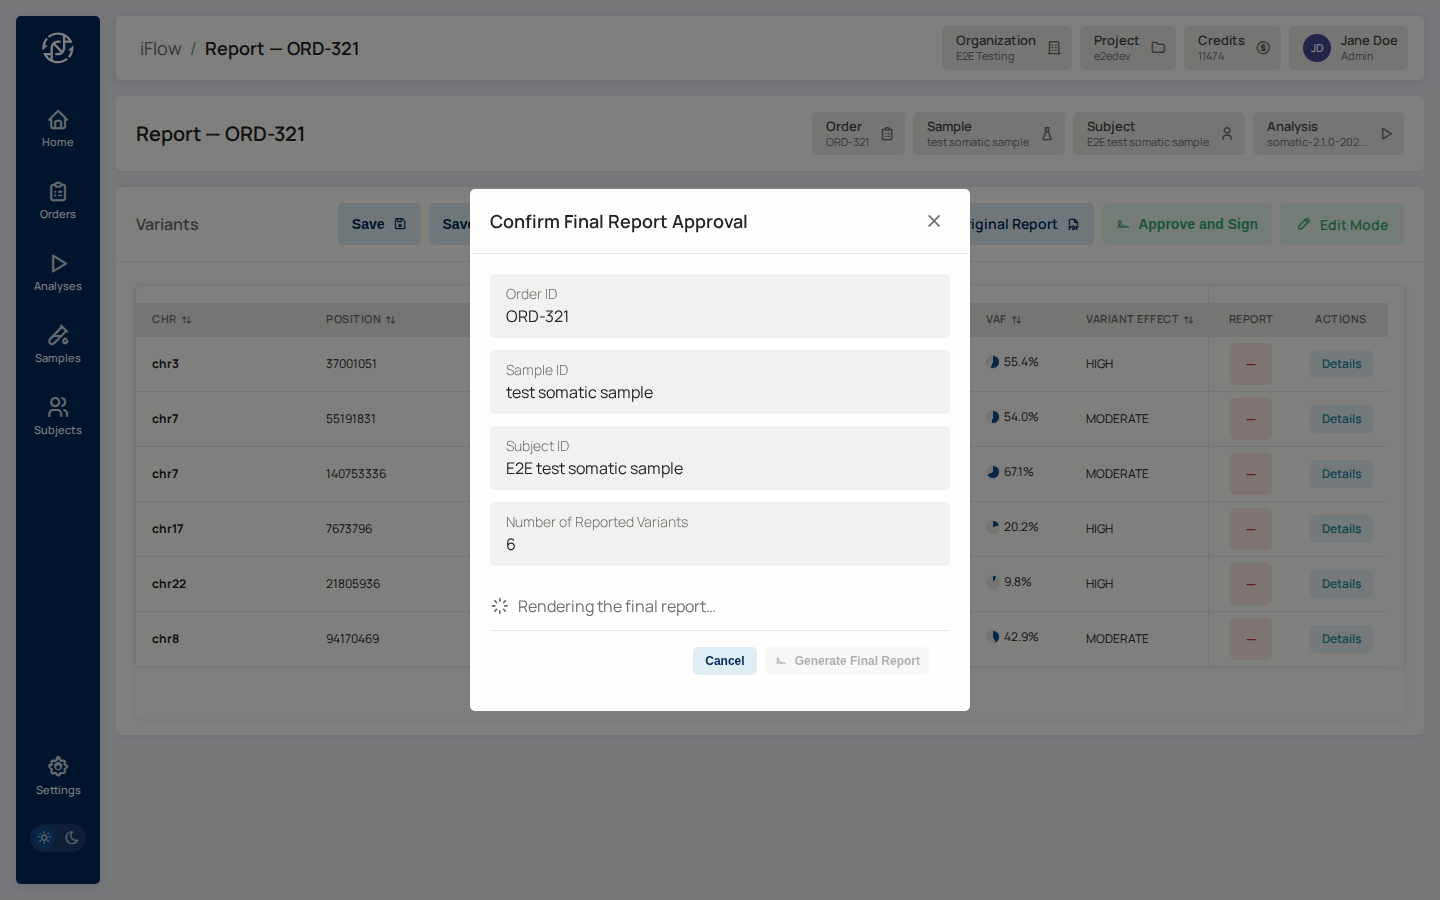
Wait for the spinner to turn into a Final Report link and for the
Generate Final Report button to unlock. If your report template
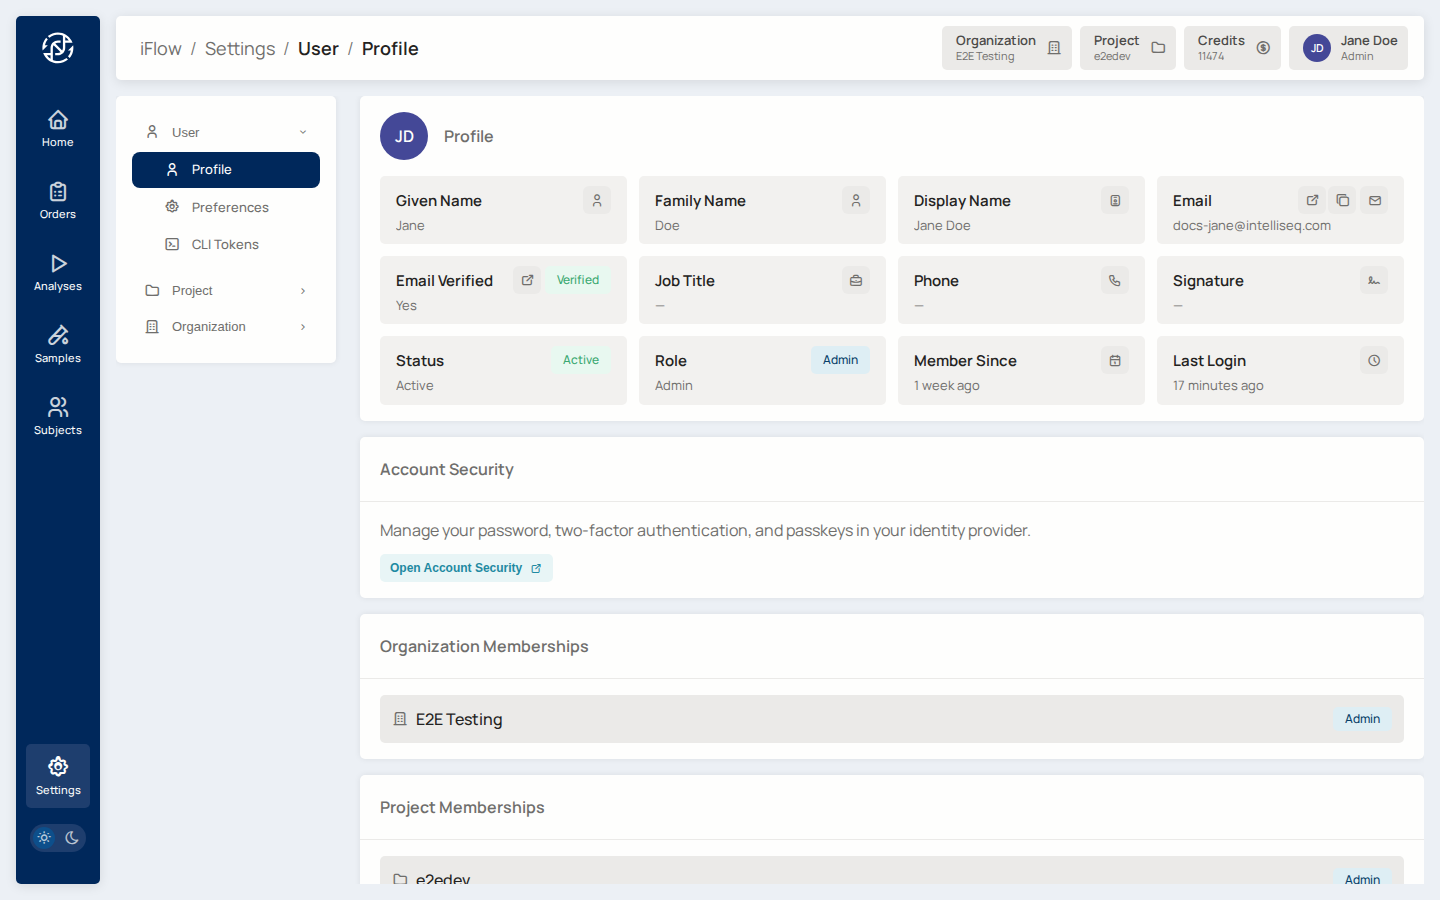
includes a sign-off signature block, the spinner will warn you if your
profile is missing a signature image or display name — fix it at
/account/profile in the Admin Console, then reopen the modal. Once the
button unlocks, click it, and download the signed PDF from the completion
modal.
Why it matters: this is the point of no return. Signing writes
signed-report.pdf to orders/{slug}/signed-report.pdf in the project
bucket. That PDF is immutable; any later change requires an amendment. The
order advances to completed in the same transaction.
→ See Sign-off workflow and Sign-off PDF for signer profile requirements.
What next?
- Download the signed PDF and transmit it through your laboratory's normal channels (LIS / LIMS integration, secure portal, etc.).
- To understand who could have done each of the above actions, see RBAC Matrix.
- To understand the service behind each page, follow the "See" links above into the Services section.