Your First Workflow
This guide walks you through running your first bioinformatics pipeline on Flow.
Prerequisites
Before starting, ensure you have:
- Logged into the Admin Console or CLI
- Selected an organization and project
- Cloud credentials configured for your project
Using the CLI (Recommended)
The CLI provides the fastest way to run workflows.
Step 1: Setup
# Install if not already done
pip install iseq-flow

# Login and select project
flow login --token YOUR_PAT_TOKEN
flow config select-project
Step 2: View Available Pipelines
Output:
SLUG                      NAME                      MODE                 ACTIVE
--------------------------------------------------------------------------------
hereditary-mock           Hereditary Mock Pipeline  direct_wdl           Yes
wdl-minimal               WDL Minimal Pipeline      direct_wdl           Yes
nextflow-minimal          nextflow-minimal          container_entrypoint Yes
nfcore-demo               nf-core/demo              direct_nextflow      Yes
Step 3: Get Pipeline Details
Output:
Pipeline: Hereditary Mock Pipeline
  Slug: hereditary-mock
  Type: direct_wdl
  Container: broadinstitute/cromwell:86
  Tags: wdl, hereditary, mock, cromwell

  Description: Mock hereditary analysis pipeline for WDL/Cromwell testing.

  Required inputs: case_id, child_fastq
Step 4: Submit a Run
File paths are relative to your project bucket:
flow runs submit --pipeline hereditary-mock \
  -P case_id=test-case-001 \
  -P child_fastq=data/R1.fastq.gz \
  -P child_fastq=data/R2.fastq.gz \
  --watch
The --watch flag monitors progress until completion:
Run submitted successfully!
  ID: abc123-def456-...
  Name: hereditary-mock-20260113-120000
  Status: queued

Watching run status (Ctrl+C to stop)...
[12:00:15] Status: queued
[12:01:00] Status: running
           Started: 2026-01-13T12:00:55Z
[12:05:00] Status: succeeded

Run completed successfully!
Output: gs://your-bucket/outputs/hereditary-mock-20260113-120000/
Step 5: Check Run Status
Step 6: Download Results
# List output files
flow files ls outputs/

# Download specific files
flow files download outputs/report.html
flow files download outputs/variants.vcf
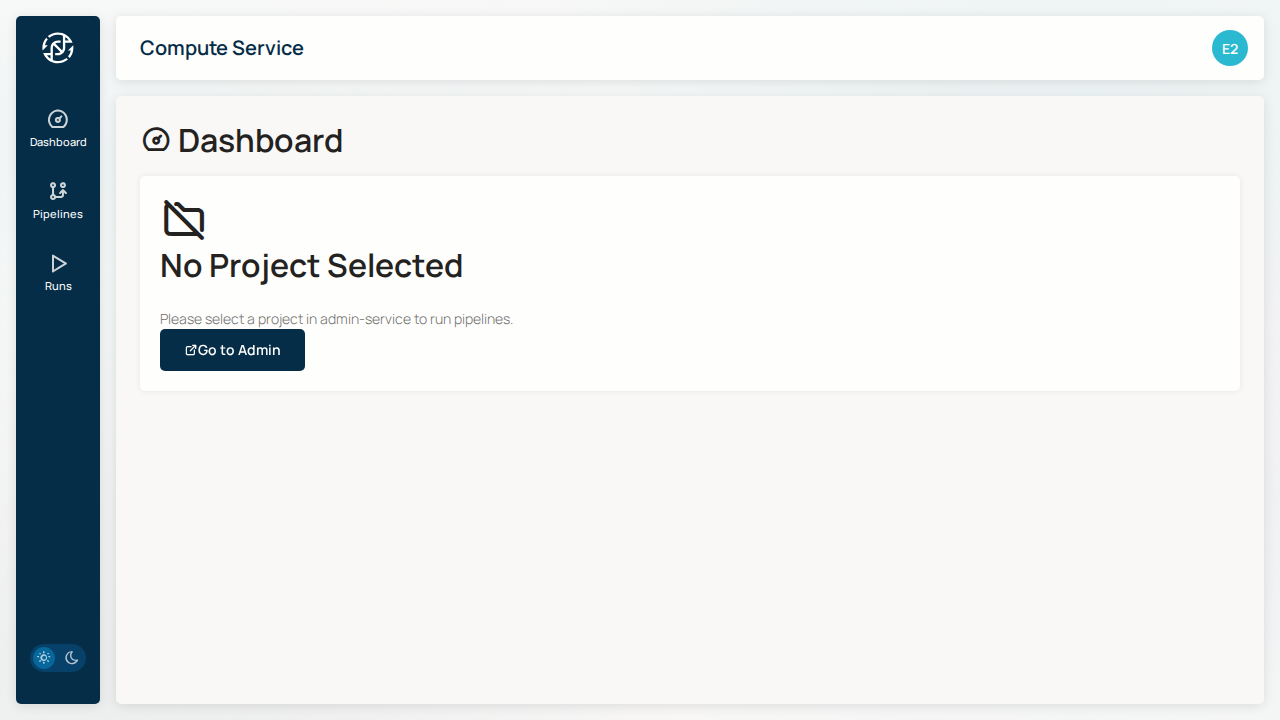
Using the Web Interface
Step 1: Navigate to Compute
Go to the Compute service from the navigation menu.
Step 2: View Available Pipelines
Click on Pipelines to see available workflows:
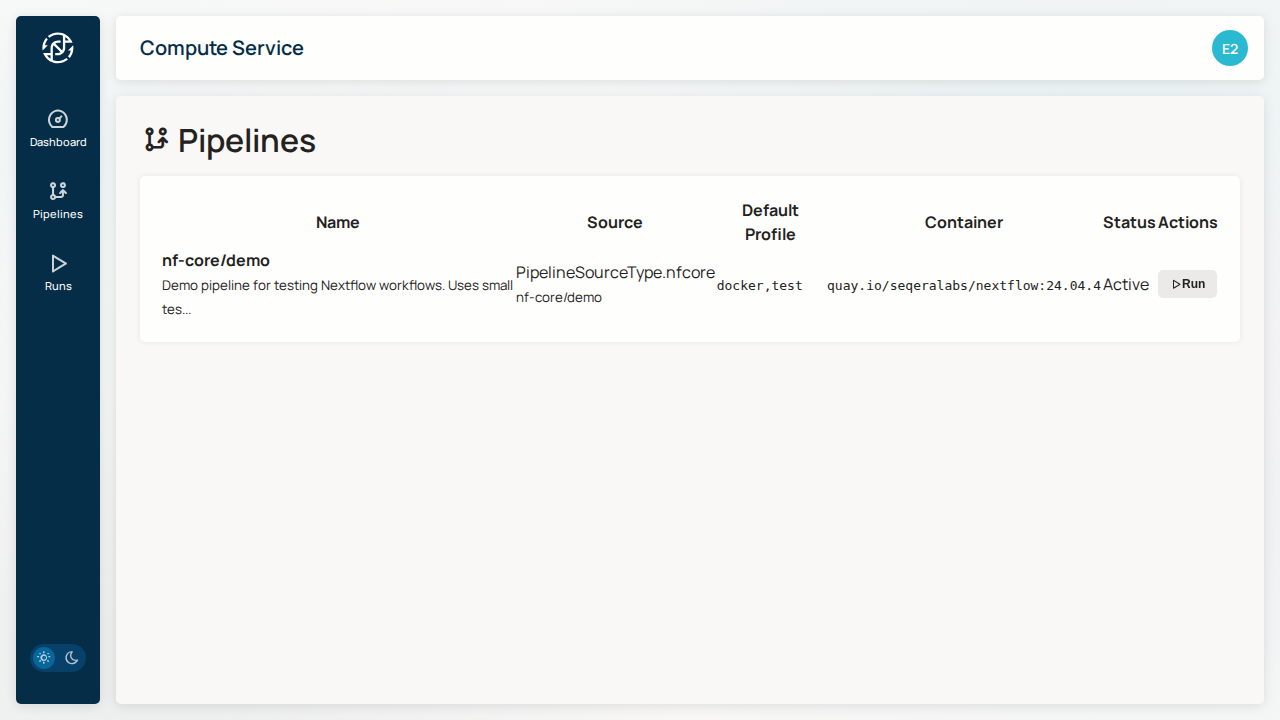
Step 3: Launch a Run
- Click on a pipeline to view its details
- Click Run Pipeline
- Configure run parameters:
- Name: A descriptive name for this run
- Profile: Use
docker,testfor testing -
Container: Leave as default
-
Click Submit
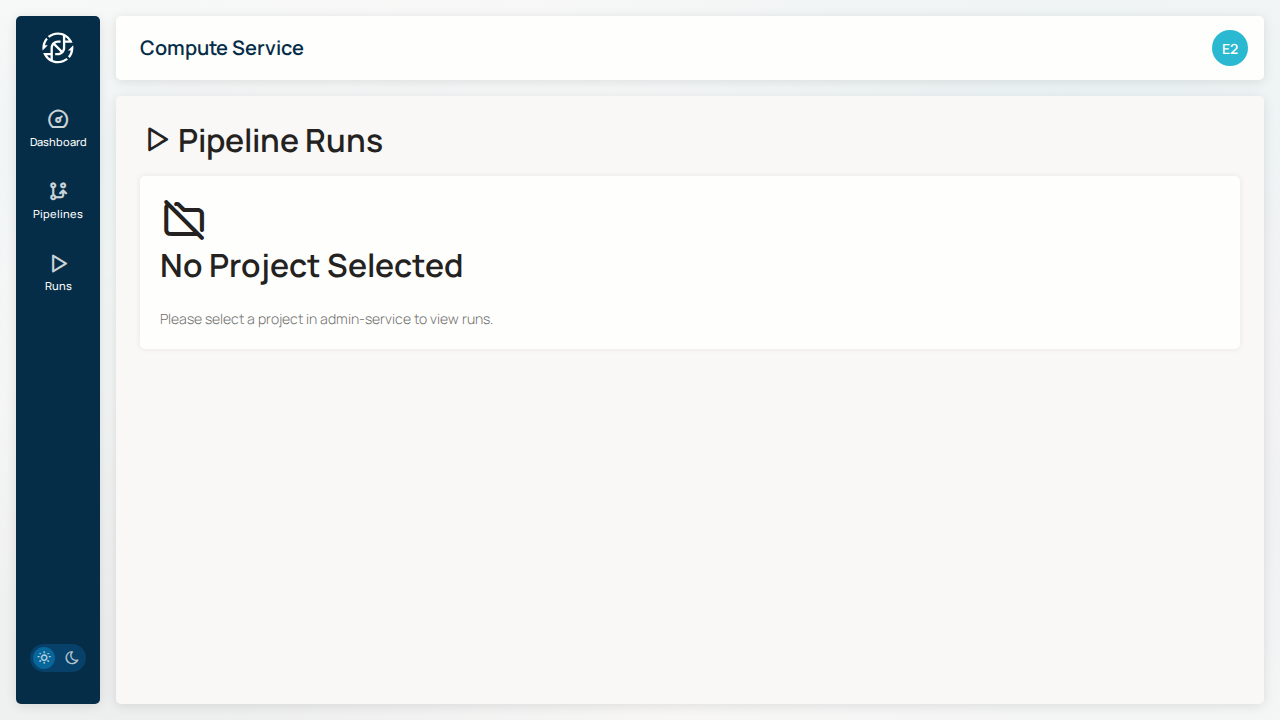
Step 4: Monitor Progress
Navigate to Runs to monitor your workflow:
Run statuses:
| Status | Description |
|---|---|
| PENDING | Run submitted, waiting to start |
| QUEUED | Queued on GCP Batch |
| RUNNING | Workflow executing |
| SUCCEEDED | Completed successfully |
| FAILED | Completed with errors |
Step 5: View Results
Once complete, click on the run to view:
- Execution logs
- Output file locations
- Timing and resource usage
Clinical Workflow Example
For clinical labs, associate runs with orders:
# 1. Create a clinical order
flow orders create -n "Patient Case 001" \
  --accession "ACC-2026-001" \
  --priority urgent \
  --indication "Suspected hereditary cancer"

# Order created with ID: order-123...

# 2. Submit run linked to order (paths relative to bucket)
flow runs submit --pipeline hereditary-mock \
  --order-id order-123... \
  -P case_id=patient-001 \
  -P child_fastq=data/R1.fastq.gz \
  -P child_fastq=data/R2.fastq.gz \
  --watch

# 3. Transition order status
flow orders transition order-123... analyzing

# 4. List runs for order
flow runs list --order-id order-123...
Next Steps
- Pipelines Guide - Learn about available pipelines
- Monitoring Guide - Advanced monitoring features
- File Browser - Access output files
- Managing Orders - Clinical order workflows